Pixel vs. Dot Explained: Mastering Photo Resolution for Printing
Understanding the difference between pixels and dots is important when working with photo resolutions, especially for printing. Pixels are the tiny building blocks of a digital image, while dots are used by printers to recreate those images on paper. The quality of a printed image depends on how these two elements interact. This guide will explain pixels and dots in simple terms, helping you master photo resolution to achieve crisp, clear, and professional-looking prints every time.
Understanding DPI (Dots Per Inch)
Measurements of print resolution use the unit known as dots per inch (DPI). Every one-inch area holds a precise count of dots which extends from end to end and side to side across that space. An image printed through high DPI produces improved visual clarity along with superior image detail.
The printing process uses a consistent number of ink droplets to restore images on paper. The printer places droplets near each other in order to simulate continuous color transition and tonal gradients. The printing quality increases when printers distribute ink droplets at smaller distances due to higher DPI values.
DPI values for high-quality prints
The recommended DPI for high-quality prints is typically between 300-600 dpi. This range ensures that the dots are small enough to create a seamless image without being too close together, which can cause ink to bleed or blend.
For professional printing, such as in magazines or brochures, it is common to use even higher DPI values of 1200 dpi and above. This creates incredibly detailed and crisp prints, perfect for showcasing photographs or graphics.
Understanding PPI (Pixels Per Inch)
PPI stands for pixels per inch and refers to the number of pixels in an image within a one-inch space. Unlike DPI, which is a print resolution measurement, PPI relates directly to the digital image itself.
Choosing the right PPI for your digital images
The general rule of thumb is to have a minimum of 300 PPI for high-quality prints. This means that for every inch in your printed document, there should be at least 300 pixels in your digital image. However, this does not mean you need to increase the resolution of all your images to 300 PPI.
For larger prints or displays where viewers will be standing further away, such as billboards or banners, a lower PPI can still produce excellent results. In these cases, a PPI between 100-200 may suffice.
Difficulty in converting between DPI and PPI
Many people get confused when trying to convert between DPI and PPI. This is because they are two different measurements, one for print resolution and the other for digital images. However, there is a formula you can use to calculate the appropriate PPI for your image based on the desired DPI for printing.
The formula
To determine the required PPI for printing at a specific DPI:
- Multiply the desired DPI by the size of your printed document in inches (Height x Width).
- The result will be the minimum number of pixels needed in your digital image (PPI).
For example, if you want to print an 8x10 inch photo at 300 DPI, you will need an image with a resolution of 2400x3000 pixels (8 inches x 300 PPI and 10 inches x 300 PPI).
How to Achieve Perfect Photo Resolution for Printing
To achieve the best quality prints, it is essential to ensure that your digital images have a high enough PPI. This means using a camera with a high-resolution sensor or choosing high-quality stock images. It also means avoiding enlarging small images for printing as this can significantly reduce the image's quality.
Additionally, always double-check your printer settings before hitting print. Make sure the DPI is set to the desired value and that any scaling or resizing options are turned off. By understanding and mastering photo resolution, you can ensure that your printed images come out looking professional and visually appealing every time. Remember, DPI refers to print resolution, while PPI relates to digital images.
Common Misunderstandings About Resolution
There are a few common misconceptions about resolution that can lead to confusion when working with images for printing. Here are a few of them:
- More pixels always mean better quality - While having more pixels in your digital image can result in higher quality prints, it is not the only determining factor. The overall quality and clarity of the original image play a significant role as well.
- You can increase resolution without losing quality - This is not entirely true. Increasing the resolution of an image will inevitably result in some loss of quality, especially if done significantly.
- 300 PPI is always necessary for high-quality prints - The required PPI can vary depending on the size and viewing distance of your print. For larger prints, a lower PPI may still produce excellent results.
By understanding these common misunderstandings, you can make informed decisions when it comes to photo resolution for printing.
Checklist for High-Quality Printed Photos
To ensure that your printed photos come out looking crisp and professional, here is a quick checklist to follow:
- Use high-quality digital images - Choose images with a high enough PPI for printing.
- Set the correct DPI in your printer settings - This will help avoid any scaling or resizing issues.
- Avoid enlarging small images for printing - This can result in pixelated or blurry prints.
- Consider the size and viewing distance of your print - Adjust the PPI accordingly for optimal results.
By following these tips and understanding the difference between pixels and dots, you can achieve perfect photo resolution for all your printing needs.
Conclusion
Achieving high-quality printed photos doesn’t have to be complicated when you understand the key elements of photo resolution, including PPI and DPI. By using high-quality images, adjusting printer settings appropriately, and considering the size and viewing distance of your prints, you can ensure professional and visually stunning results every time. With these tools and tips in mind, you'll be well-equipped to create prints that preserve your memories beautifully.
On this page
Understanding DPI (Dots Per Inch) DPI values for high-quality prints Understanding PPI (Pixels Per Inch) Choosing the right PPI for your digital images Difficulty in converting between DPI and PPI The formula How to Achieve Perfect Photo Resolution for Printing Common Misunderstandings About Resolution Checklist for High-Quality Printed Photos ConclusionRelated Articles
Unzip Like a Pro: Top 5 Free Decompression Tools
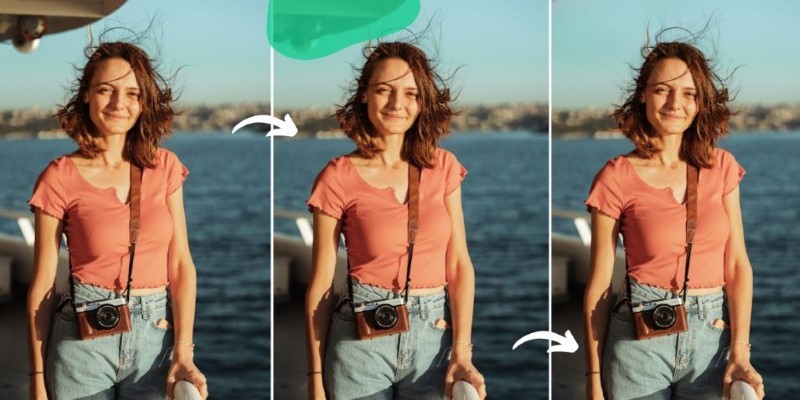
Erase Unwanted Objects: 5 Best AI Tools for Seamless Photo Editing
Best Online Converters for WMV to GIF: Quick and Easy Guide

Improve Your Virtual Communication: 5 Free Video Chat Tools to Use
Fast and Easy AVIF to JPG Conversion: 5 Offline Converters

Capturing an Entire Web Page Screenshot: A Complete Guide
Transform Your Photos with Free Aiarty Image Enhancer Software
Top 7 Best AI Image Pixel Resizers for Perfect Image Quality
Free MySQL Visualization Tools: 5 Options to Simplify Your Data Management
The Best GIF Compressors for Discord: 5 Tools to Optimize Your GIFs

Best Tools for 1920x1080 Image Conversion: Comprehensive Analysis

 judgeinfo